
Here is a custom reverse flow smoker I built for my house a few years back. I don’t have as many build pictures as I probably should but I do have a full length video of the build that I will post at the end. The idea behind this design was that I wanted it to look like a piece of furniture. I started the project by doing a visual rendering based on the measurements I had in my head. Basically just making sure it would look like I thought it would.

It actually turn out larger than the render is here, or this guy is like seven foot tall.

I started with the cook chamber. This is what I call a fridge style design where the two doors open wide with no center strip. Basically the right side door over laps the left door and the handle on the right side door slides up and down to unlatch it.
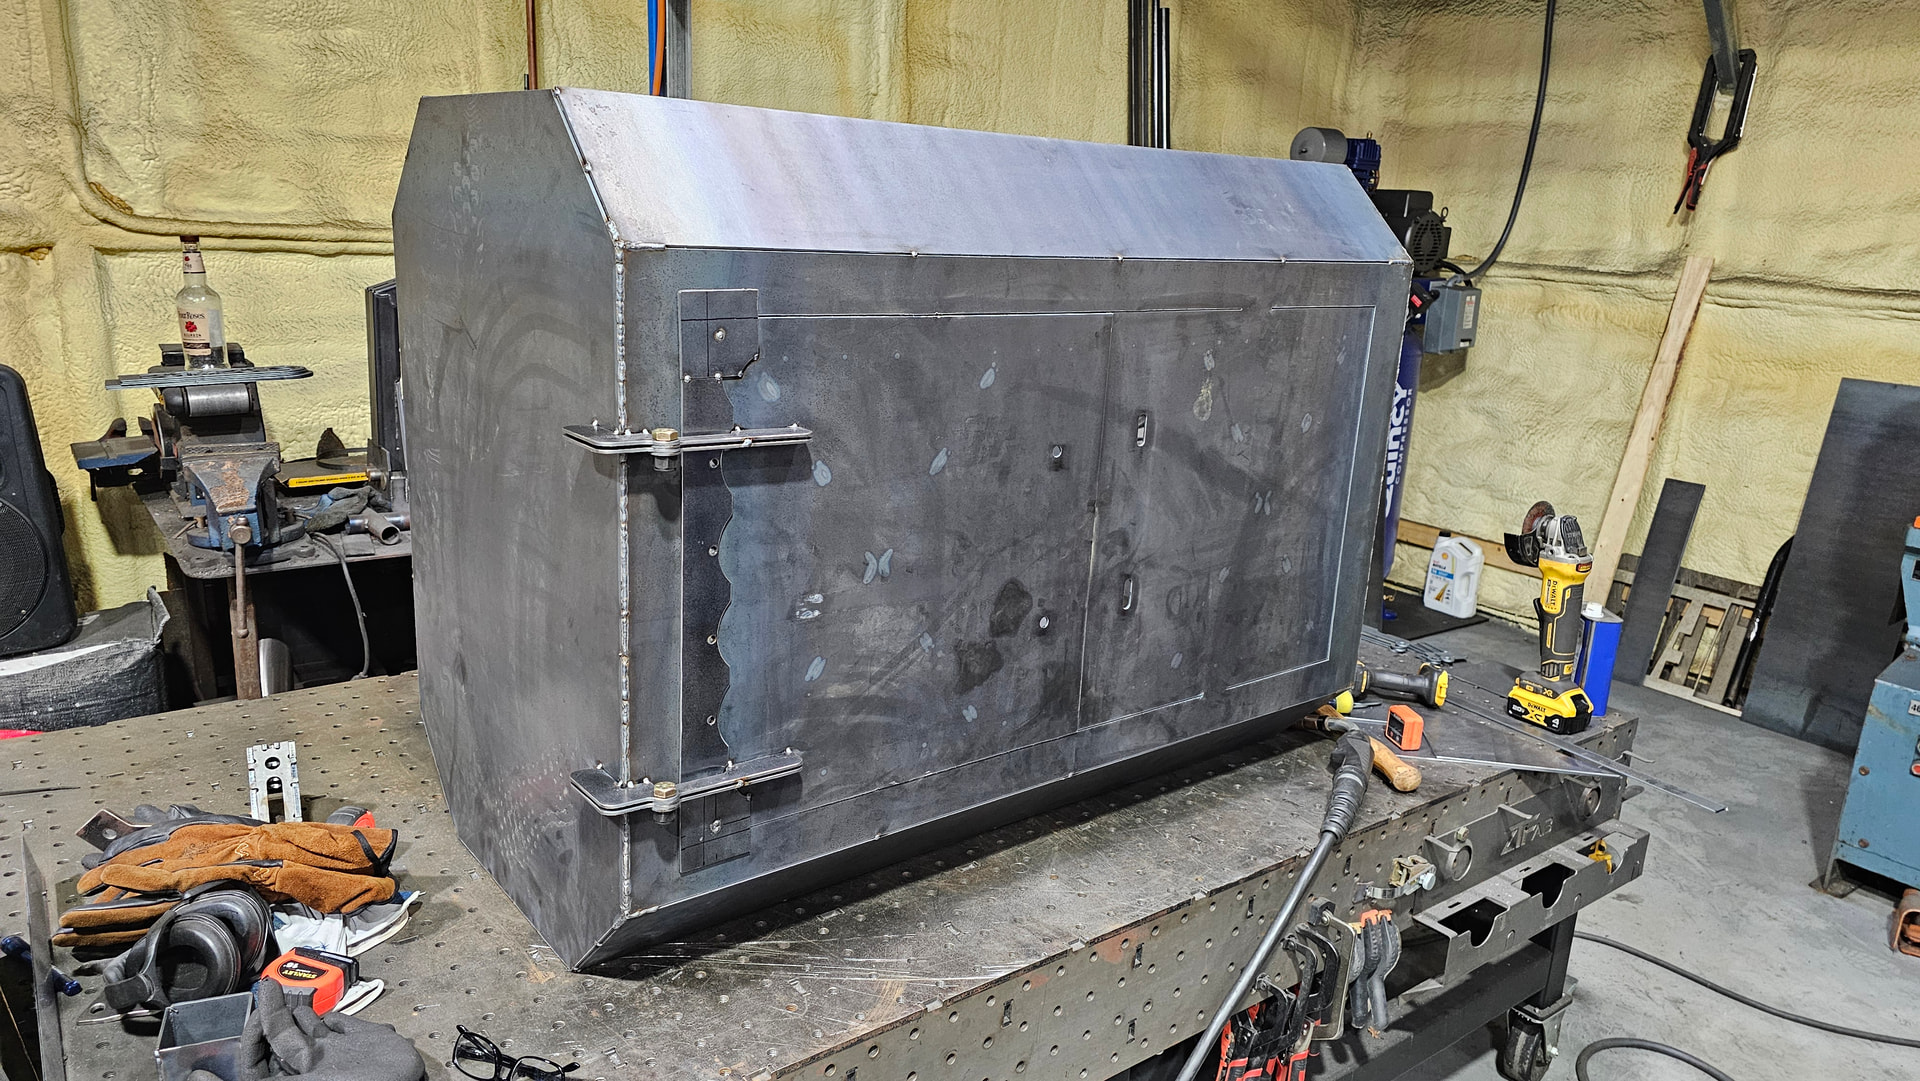
I mounted the hinges before the doors were fully cut loose. The hope was that they would stay centered. Worked but not as well as I had hoped.


This is a reverse flow style, which means the heat and smoke from the fire box flow under a plate in the bottom, up into the cook chamber and back across the meat before going out the stack. This heats the lower plates and effectively has a radiant cooking effect from the bottom and also eliminates hot zones compared to a tradition offset smoker. The picture above only has one of the removable plates installed. With the other plate installed it covers the entire bottom except about 5 inches on the left side.

With the plate slid over in this photo you can see there a diffuser as well just help from not exposing the plate to direct flame.

I made slides for three racks or three rack locations.
After I got the cook chamber mostly complete I started on the fire box. You can see here I put two inches of insulation around the entire fire box to hold heat and keep the outside from getting too hot.

This just shows the bottom plate but I continued the same process around the whole inside.

Simple fire box latch system and drip rail. I did a matching drip rail on the cook chamber as well.

Once the two boxes were complete I combined them, built the legs and smoke stack.


A few coats of high temp clear and this bad boy was ready to cook some protein.
Here is the complete build video if you are interested.
